
This document will explain how to install Oracle RAC 10gR4 Database Instances. You will create the default database to be used in dev, test, or production.
Document Creator
Todd Walters
Requirements
All these Sections must be complete before Install ASM Instance on RAC Servers:
Pre Installation Guide
1. How to Install Linux Oracle RAC Virtual Server
2. Prepare Linux Virtual Servers for Oracle RAC
3. Prepare Linux Physical Servers for Oracle RAC
4. How To Configure Oracle RAC OCR and Voting Disks
Oracle Software Installation Guide
1. Prepare Linux Environment for GUI Access for Oracle Installation
2. Linux Oracle RAC Installation Guide
3. How to Install Oracle 10gR2 CRS
4. How to Install Oracle 10gR2 ASM
5. How to Install Oracle 10gR2 DB Home
6. How to Install Oracle 10gR4 CRS Patch
7. How to Install Oracle 10gR4 ASM Patch
8. How to Install Oracle 10gR4 DB Home Patch
9. How to Configure Oracle ASM Disks for RAC Virtual Servers
o For Physical see How to Configure ASM Disks for Physical Servers guide.
10. How to Install Oracle 10gR4 ASM Instance
11. How to Install Oracle 10gR4 Database Instance
How to Install Oracle RAC 10gR4 Database Instance
- Login to node1 via VNC Viewer as Oracle user
- Do the following before running DBCA
- Export this path
- srv0dbxd11 | ORA1020 | /export/home/oracle
> export ORACLE_HOME=/u00/app/oracle/product/10.2.0/DB - Run dbca to launch GUI Installer
- srv0dbxd11 | 10.2.0 | /export/home/oracle
> /u00/app/oracle/product/10.2.0/DB/bin/dbca - At the Database Installation Screen
- At the Database Creations screen, choose Create a Database and click Next.
- At the Node Selection screen, make sure all nodes in the cluster are selected, then click Next.
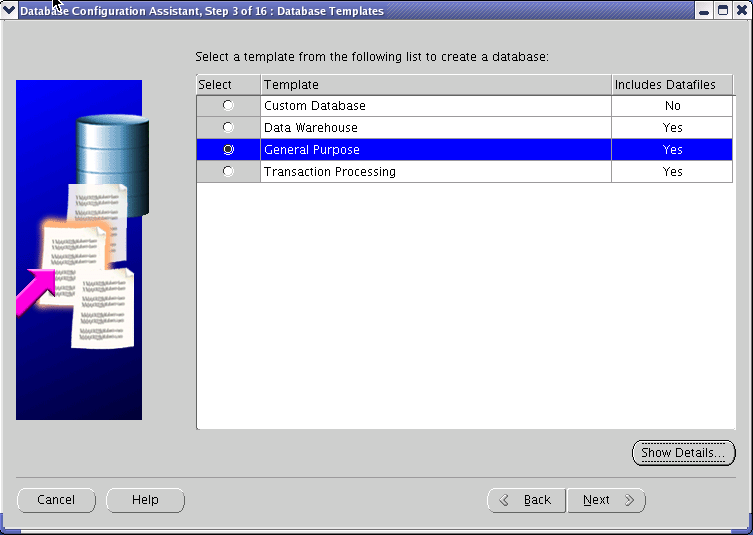
- At the Database Templates screen, choose General Purpose then click Next.
- At the Database Identification screen, enter dsiteDB.WORLD for Global Name and then click Next.
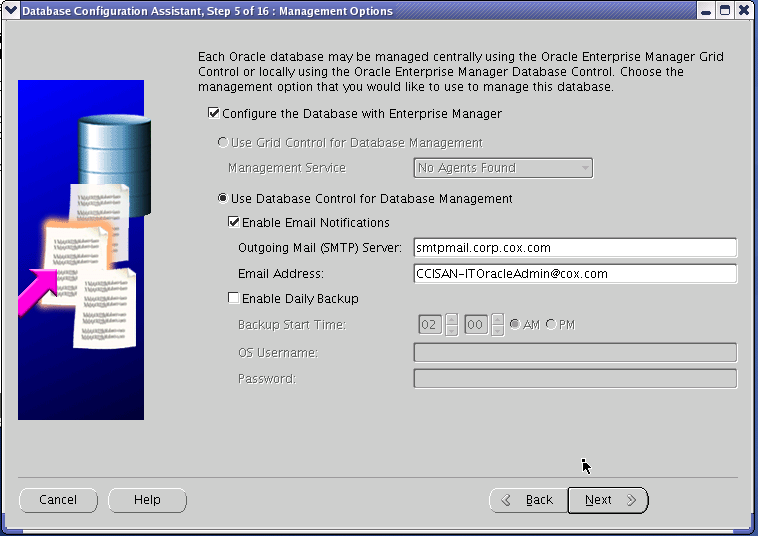
- At the Management Options screen, enter the SMTP Email and the Oracle Admin DL
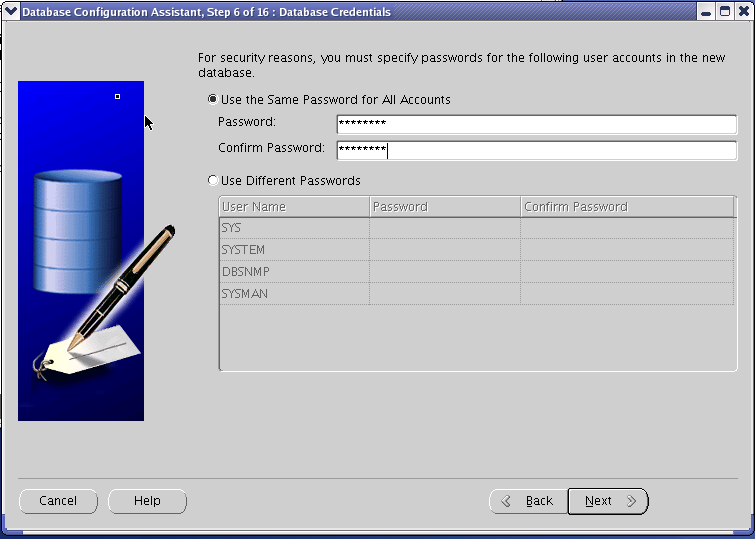
- At the Database Credentials screen, enter SYS password you set earler, then click Next
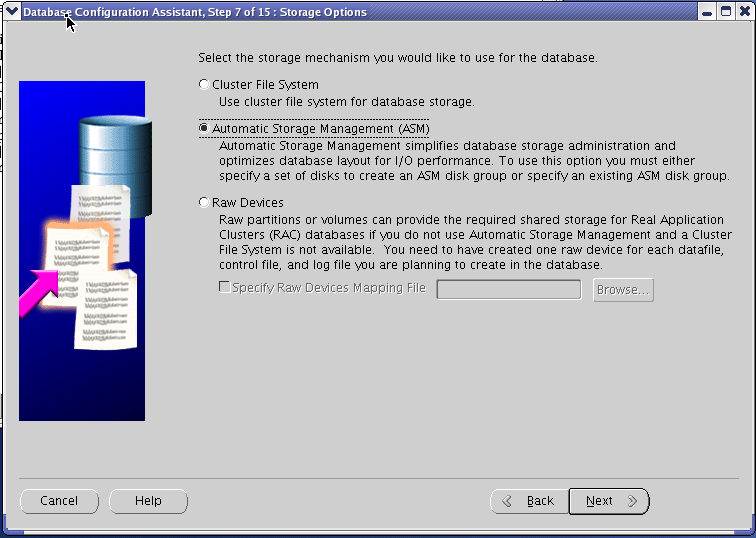
- At the Database Storage Options screen, check ASM then click Next to continue.
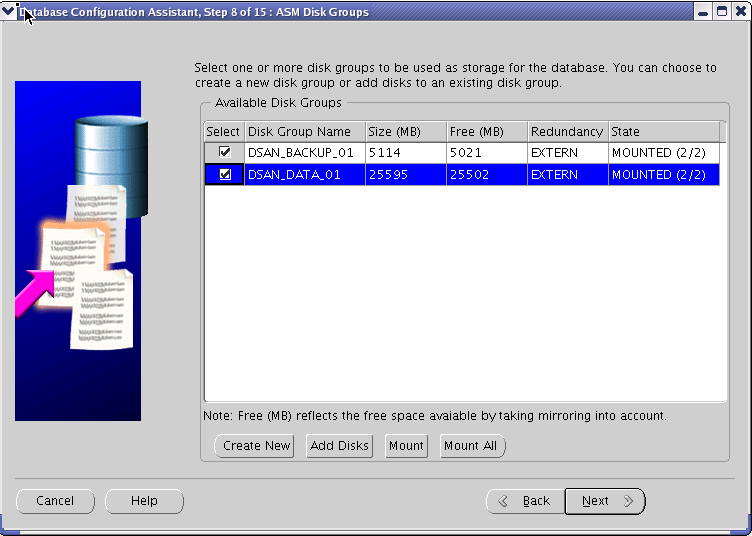
- On the Select ASM Disk Groups screen, Select both ASM Disk Groups then click Next
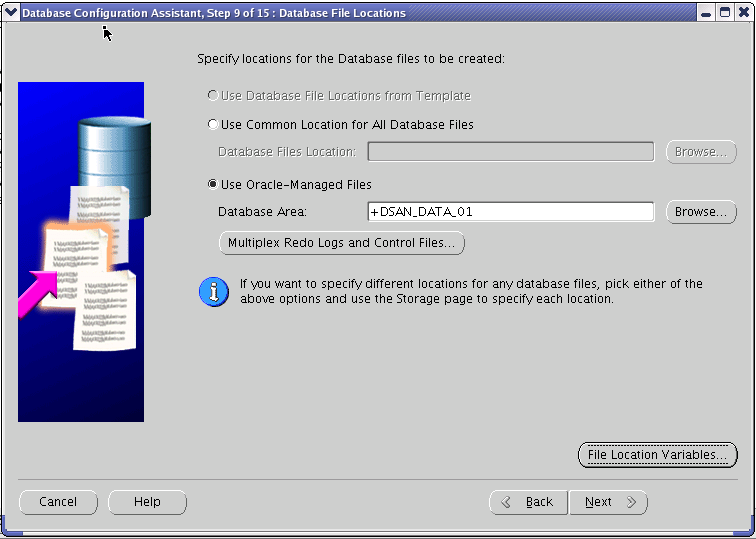
- On the Database File Locations screen, enter the ASM Disk Group you created to hold your data files. Use +dsite_DATA_01 (ASM DATA Area), and click on File Location Variables to review. Finally click Next to continue.
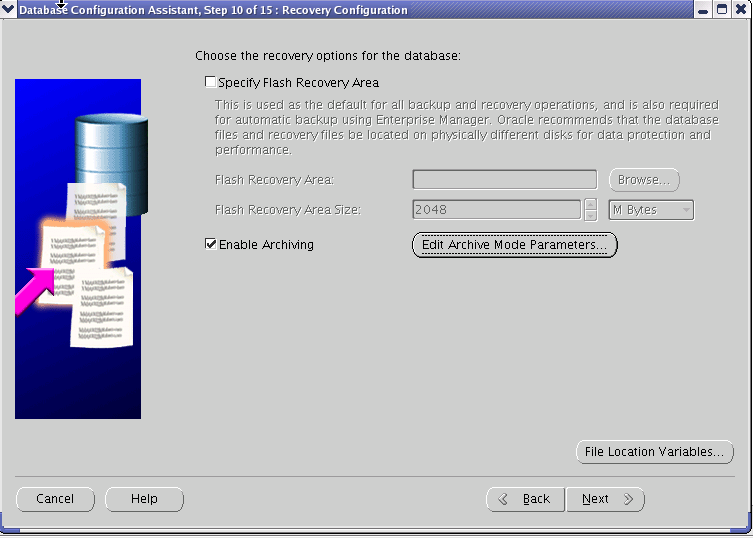
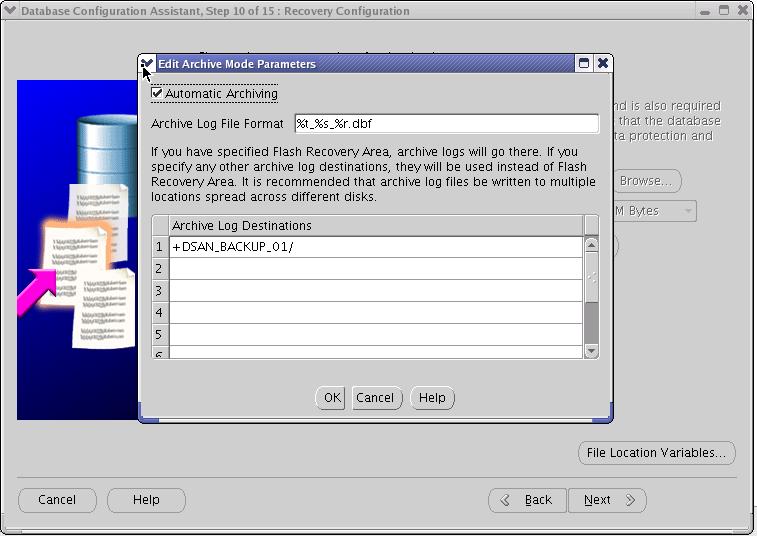
- On the Database Recovery Configurations page, choose Enable Archiving, then click on Edit Archive Mode Parameters to view and make sure dsite_BACKUP is listed. Finally, click on Next to continue. DO NOT Enable Archive for dev/test environments
- Choose Enable Archiving if you want to conduct online backups or if you need to be able to perform point in time recovery.
- DEV: Archiving is rarely turned ON
- STAG/TEST: Archiving is sometimes turned ON
- PROD: Archiving is always turned ON
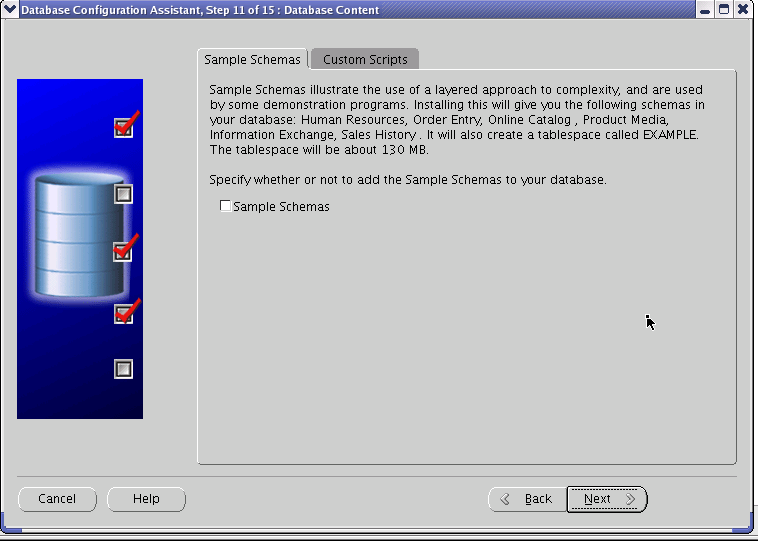
- On the Database Content page, DO NOT select Sample Schemas. Click Next to continue.
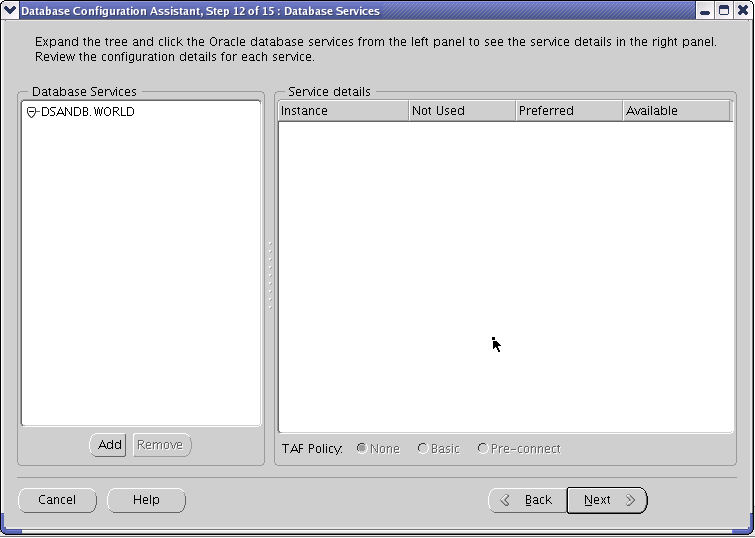
- On the Database Services page, click on Add to add services and add dsite and APPdsite
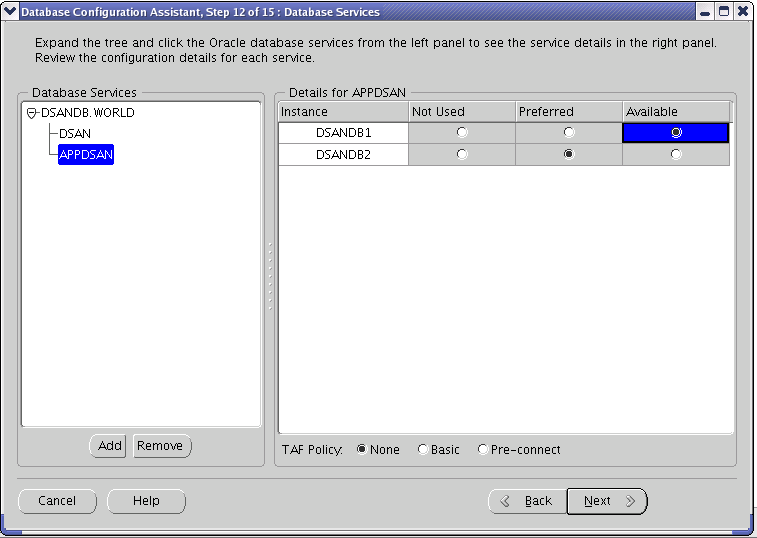
- Still on Database Services page, select use for each Service and node instance, then click Next to continue.
- On the Initialization Parameters page, select Custom and setup SGA Size and PGA Size, then click Sizing Tab
- On the Initialization Parameters page, Sizing Tab, change Processes to 300 .
- On the Initialization Parameters page, Character Sets, select Use the default.
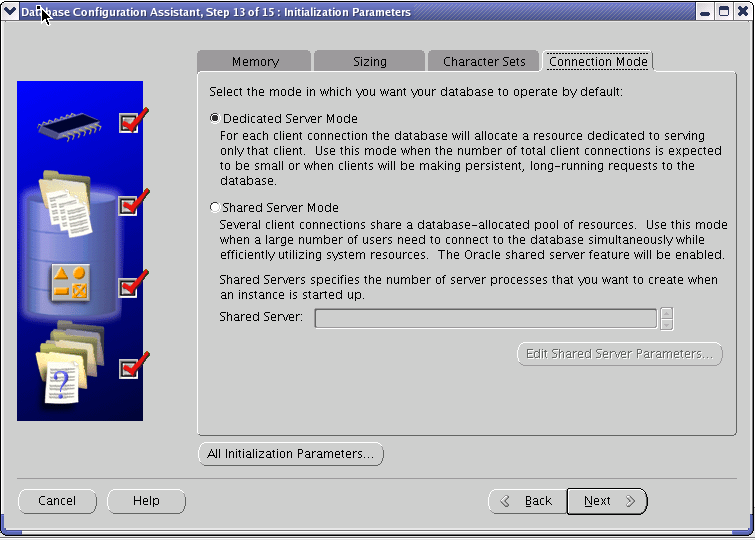
- On the Initialization Parameters page, Connection Mode, select Dedicated Server Mode then click Next
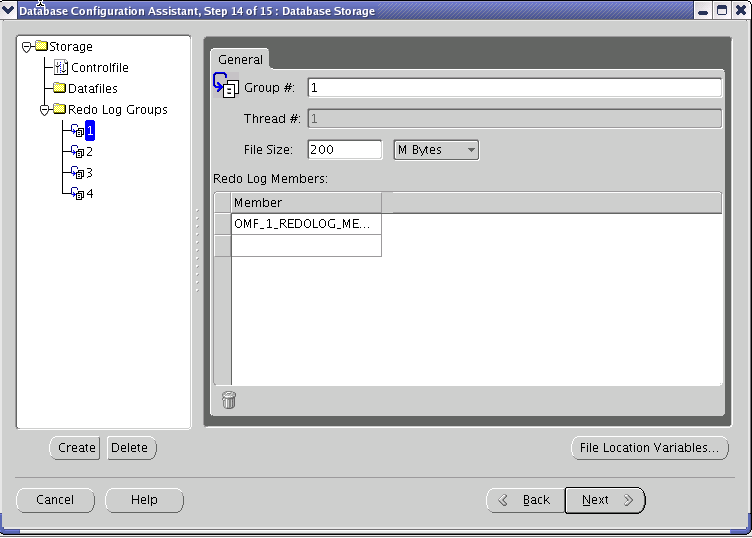
All Initialization Parameters screenshot: - On the Database Storage page, change the Redo Log Groups (All 4 Groups) to 200 MB then click Next
- On the Creation Options page, Select Generate Database Creation Scripts then click Finish
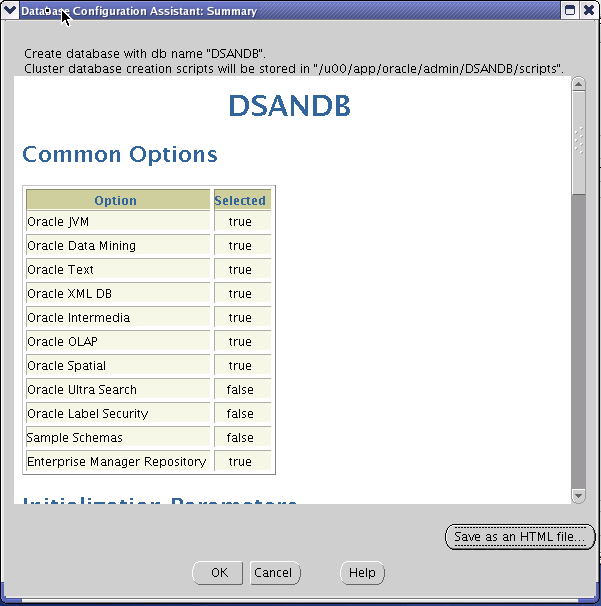
- On the DBCA: Summary for dsiteDB, review then click OK
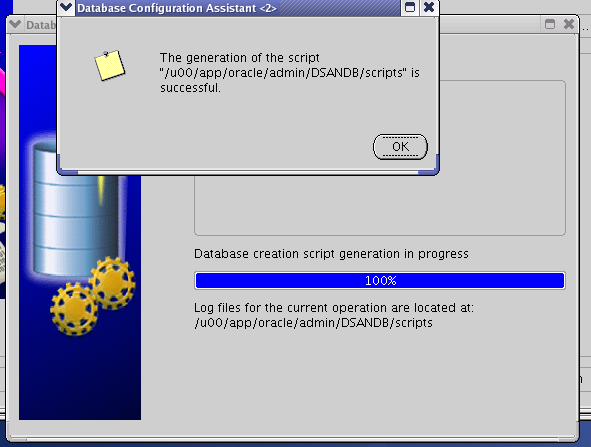
- On the Database Script Generation page, click OK to contine install
- Screenshots of Installation
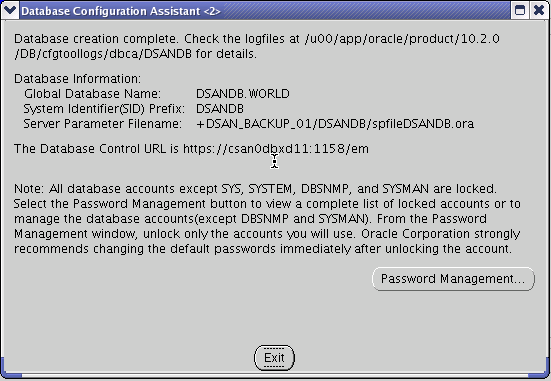
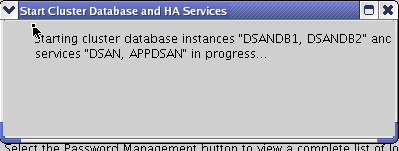
- Screenshot of Successful Installation and Starting Cluster Services.
- Set TNS_ADMIN especially if DB Services won't start automatically


- View current database settings:
- srv0dbxd11 | CRS | /u00/app/oracle/product/10.2.0/CRS
> srvctl getenv database -d psitedbTNS_ADMIN=/u00/app/oracle/product/10.2.0/ASM/network/admin - If there is no env set for TNS_ADMIN set it with this command
- > srvctl setenv database -d psitedb -T TNS_ADMIN=/u00/app/oracle/product/10.2.0/ASM/network/admin
- Start the database
- > srvctl start database -d psitedb
- Check the status and srvctl should be able to start this now.
- > srvctl start instance -d psitedb -i psitedb1
No comments:
Post a Comment