
Requirements
- Virtual Box (or other VM, RHEV, etc..)
- Red Hat Subscription or Eval Demo
- See Which subscriptions provide access to the Red Hat Enterprise Linux 7 Beta download? for complete information on subscriptions or requesting an evaluation copy.
- Time to mess around with RHEL 7
Okay, to get started Red Hat has provided a lot of documentation for RHEL 7 including a blog. Please follow links above to review if you'd like. If not, let's just jump right into the install.
Part I: Prepare VM
- Build a VM as you normally would. I'm using Virtual Box and built it with the following specs.
- 20GB HDD
- 2gb RAM
- Single NIC
- mount the Beta CD then power on.

Part II: Install RHEL 7
- Press 'enter' at default install splash screen to begin installation. By default it will run a media check but you can press esc to skip.

- On the Welcome to Red Hat Enterprise Linux 7.0 Language screen, choose your language then click 'Continue'

- On the Notice page for unstable, pre-release software, choose I want to proceed to continue.

- RHEL 7 Installation has an 'Installation Summary' screen as shown below. Please set and or configure each items as required. I will perform a base installation with a custom partition scheme. The Installation Summary page is divided into 3 sections
- Localization
- Software
- Storage

- Change the TimeZone first as shown

- click on the settings gear to enable NTP (Can always configure later)

- To make Keyboard or Language changes, choose the related icon in the 'Localization' section and then choose the setting you need.
- Let's configure the software next and choose come options. Under the 'Software' section, choose Software Selection

- On the Software Selection screen, software is divided into two columns now with Base Environment on the left and Add-On for Selected Environment on the right. There are 10 Base Environments by default and I will select Gnome Desktop.

- Click on Done to continue. Normally I wouldn't install the GUI and just install the server. (Desktop or gui can be added later by running the following command: yum groupinstall "X Window System" "KDE Desktop" or (GNOME Desktop)

- Next Click on the Storage and choose the Installation Destination. I setup a 21GB HDD VBOX drive in VirtualBox and will use it.

- Once we click on Done on this it will prompt for installation options. Here I will select I want to review/modify my disk partitions before continuing. I will also select LVM Thin Provisioning for my partition scheme.

- After clicking on Continue, you will be given options to setup up partitions manually or have them created automatically. I chose to create the partitions manually. Click on the + sign to Add a partition.

- Click the + sign and add each additional partition as needed. I created /boot, /, /home, swap, and /var. If you're unfamiliar with partitioning you can just select the 'Click here to create them automatically' option.


- Review the Partition layout and then click Done. Notice that the default file system is now XFS

- After creating the partitions and clicking done, a Summary of Changes box will appear. Review the changes and then click Accept Changes or cancel to make additional changes.

- Back on the Installation Summary page, if everything is correct, click Begin Installation to start the install.

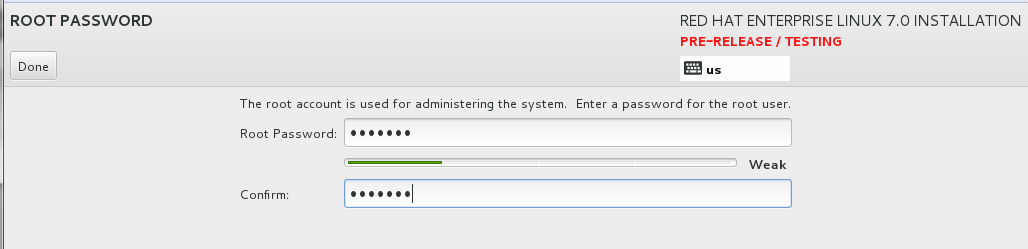
- Next, during the installation, you can configure the root password and an additional user if you choose.

- Set root password
- Create User with Administrator (root) privileges

- Also can customize the user settings such as UID/GID, Home directory, etc...

- Once installation is completed, as usual with previous versions and GUI install, you are asked to reboot.

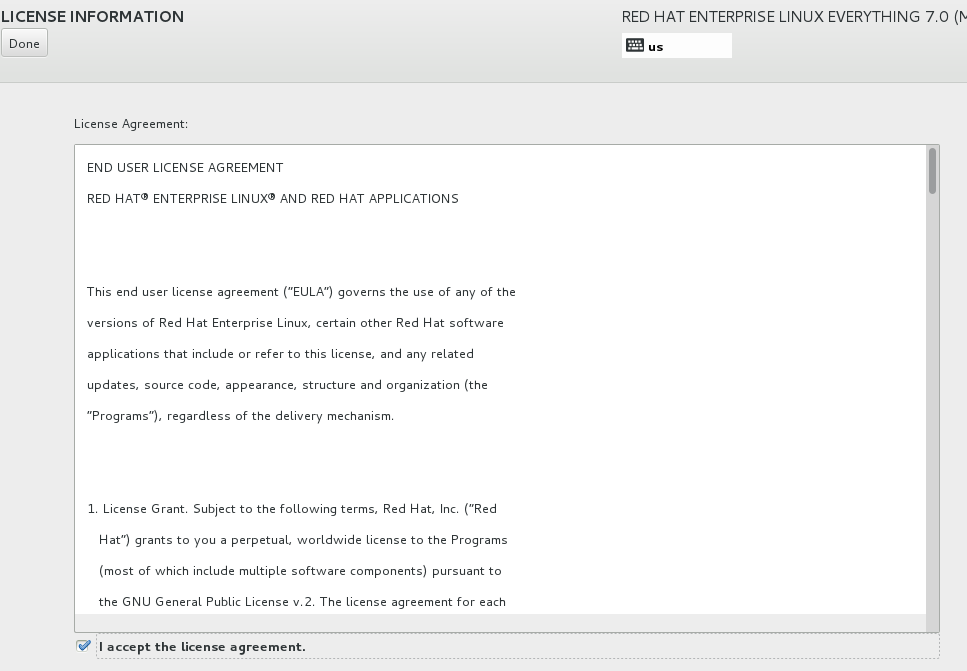
- After reboot, complete the initial setup. Click on the License Information.

- Accept the License agreement
- Click to Finish Configuration to continue

- Configure KDUMP if you would like to. If you choose no, will be required to reboot again.

- Register your subscription now or choose to register later.

- Login at default login screen

- Complete the Gnome setup.


- Click on Finish to begin using and learning RHEL 7
Wakkadoo Tech: How To Install Red Hat Enterprise Linux 7 Beta >>>>> Download Now
ReplyDelete>>>>> Download Full
Wakkadoo Tech: How To Install Red Hat Enterprise Linux 7 Beta >>>>> Download LINK
>>>>> Download Now
Wakkadoo Tech: How To Install Red Hat Enterprise Linux 7 Beta >>>>> Download Full
>>>>> Download LINK