
Information about How to Install Oracle 10gR2 ASM
This document will describe how to install Oracle ASM for RAC. Read the Prerequisite Informatin before beginning and make sure those requirements are met.
Document Creator
Todd Walters 6/03/2009
Requirements
All these Sections must be complete before installing ASM on RAC Servers:
Pre Installation Guide
1. How to Install Linux Oracle RAC Virtual Server
2. Prepare Linux Virtual Servers for Oracle RAC
3. Prepare Linux Physical Servers for Oracle RAC
4. How To Configure Oracle RAC OCR and Voting Disks
Oracle Software Installation Guide
1. Prepare Linux Environment for GUI Access for Oracle Installation
2. Linux Oracle RAC Installation Guide
3. How to Install Oracle 10gR2 CRS
4. How to Install Oracle 10gR2 ASM
5. How to Install Oracle 10gR2 DB Home
6. How to Install Oracle 10gR4 CRS Patch
7. How to Install Oracle 10gR4 ASM Patch
8. How to Install Oracle 10gR4 DB Home Patch
9. How to Configure Oracle ASM Disks for RAC Virtual Servers
o For Physical see How to Configure ASM Disks for Physical Servers guide.
10. How to Install Oracle 10gR4 ASM Instance
11. How to Install Oracle 10gR4 Database Instance
How to Install Oracle 10gR2 ASM
- Login with VNC Viewer to Node 1 as Oracle User
- ASM Home Software Location
- > cd /Oracle/software/asm/base/10.2.0.1/linux_64bit/database
- Start OUI Gui Installer
- srv0dbxd11 | ORA1020 | /Oracle/software/asm/base/10.2.0.1/linux_64bit/database
> ./runInstaller - Click Next on OUI Welcome Screen
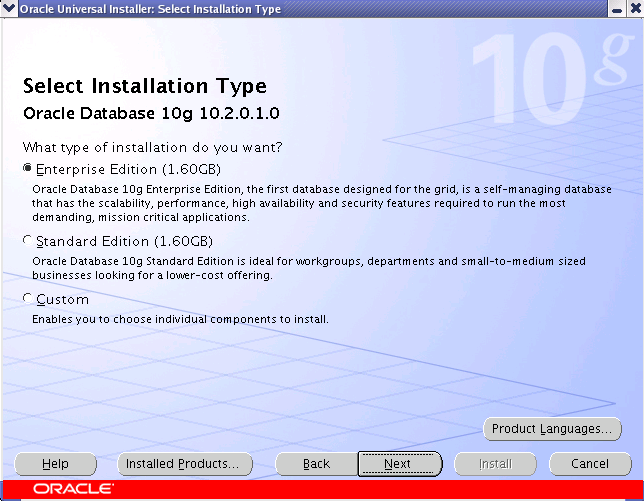
- On the OUI ASM Select Installation Type screen, make sure Enterprise Edition radio button is checked and click Next.
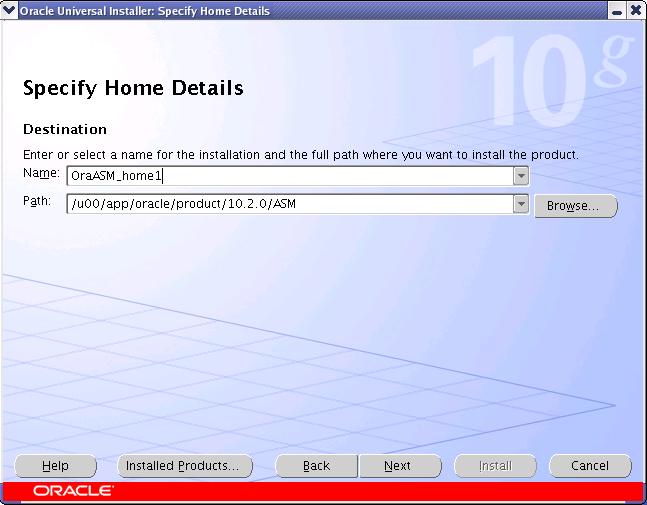
- On the ASM Specify Home Details screen, change the paths to what is shown below and then click Next. Do not deviate from this.
- On the ASM Specify Hardware Cluster Installation Mode screen, check all nodes that are in your cluster. All nodes should automatically be listed here. Click Next to continue.
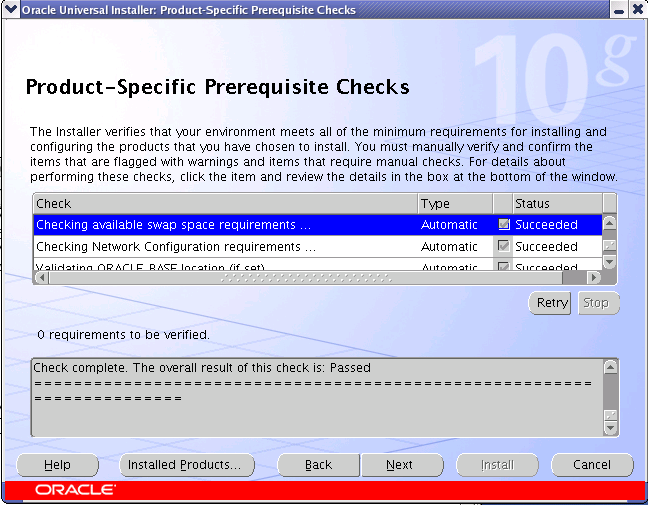
- On the ASM Product Specific Checks screen, ensure that all checks passed. Fix any errors then click Retry if needed before continuing by clicking Next
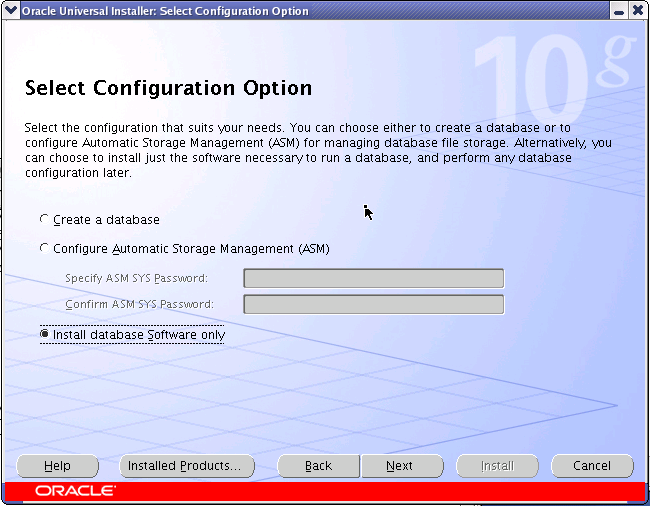
- On the ASM Select Configuration Option screen, select Install database Software only radio button, then click Next.
- On the ASM Install Summary page, review options ,then click Install to begin installation.
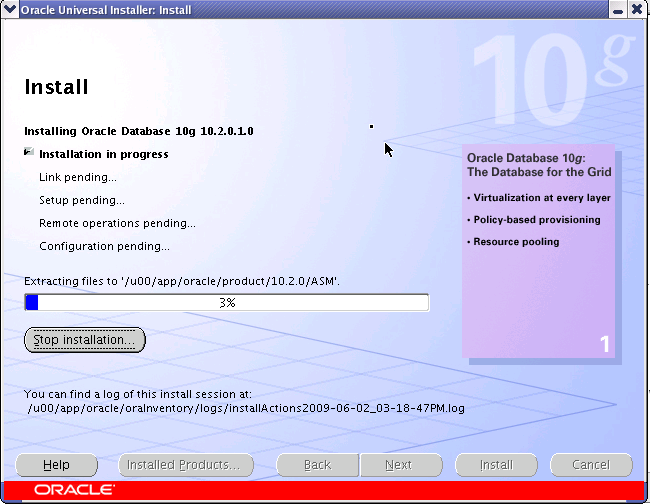
- Screenshot of ASM Installation Progress
- On the ASM Execute Configuration Scripts page, run the root scripts using sudo in another terminal on all nodes.
- > sudo /u00/app/oracle/product/10.2.0/ASM/root.sh
Running Oracle10 root.sh script...
The following environment variables are set as:
ORACLE_OWNER= oracle
ORACLE_HOME= /u00/app/oracle/product/10.2.0/ASM
Enter the full pathname of the local bin directory: [/usr/local/bin]:
The file "dbhome" already exists in /usr/local/bin. Overwrite it? (y/n)
[n]: y
Copying dbhome to /usr/local/bin ...
The file "oraenv" already exists in /usr/local/bin. Overwrite it? (y/n)
[n]: y
Copying oraenv to /usr/local/bin ...
The file "coraenv" already exists in /usr/local/bin. Overwrite it? (y/n)
[n]: y
Copying coraenv to /usr/local/bin ...
Creating /etc/oratab file...
Entries will be added to the /etc/oratab file as needed by
Database Configuration Assistant when a database is created
Finished running generic part of root.sh script.
Now product-specific root actions will be performed. - After running the scripts on both nodes, click OK on Execute Configuration Scripts page.
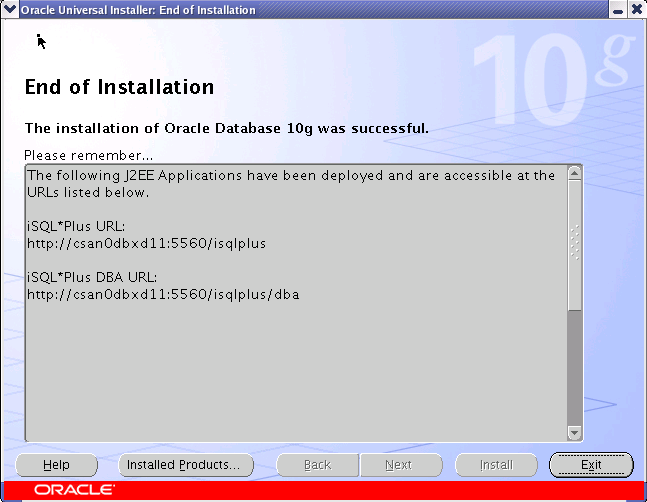
- Summary of ASM Installation Should show as Successful click on Exit, then Yes to complete.
- Continue on to the Install Database Home: Software Only section in the Linux Oracle RAC Installation Guide or go to the How to Install Oracle 10gR2 DB Home guide from here.


No comments:
Post a Comment